Instance Management
Reset Instance to Default Settings
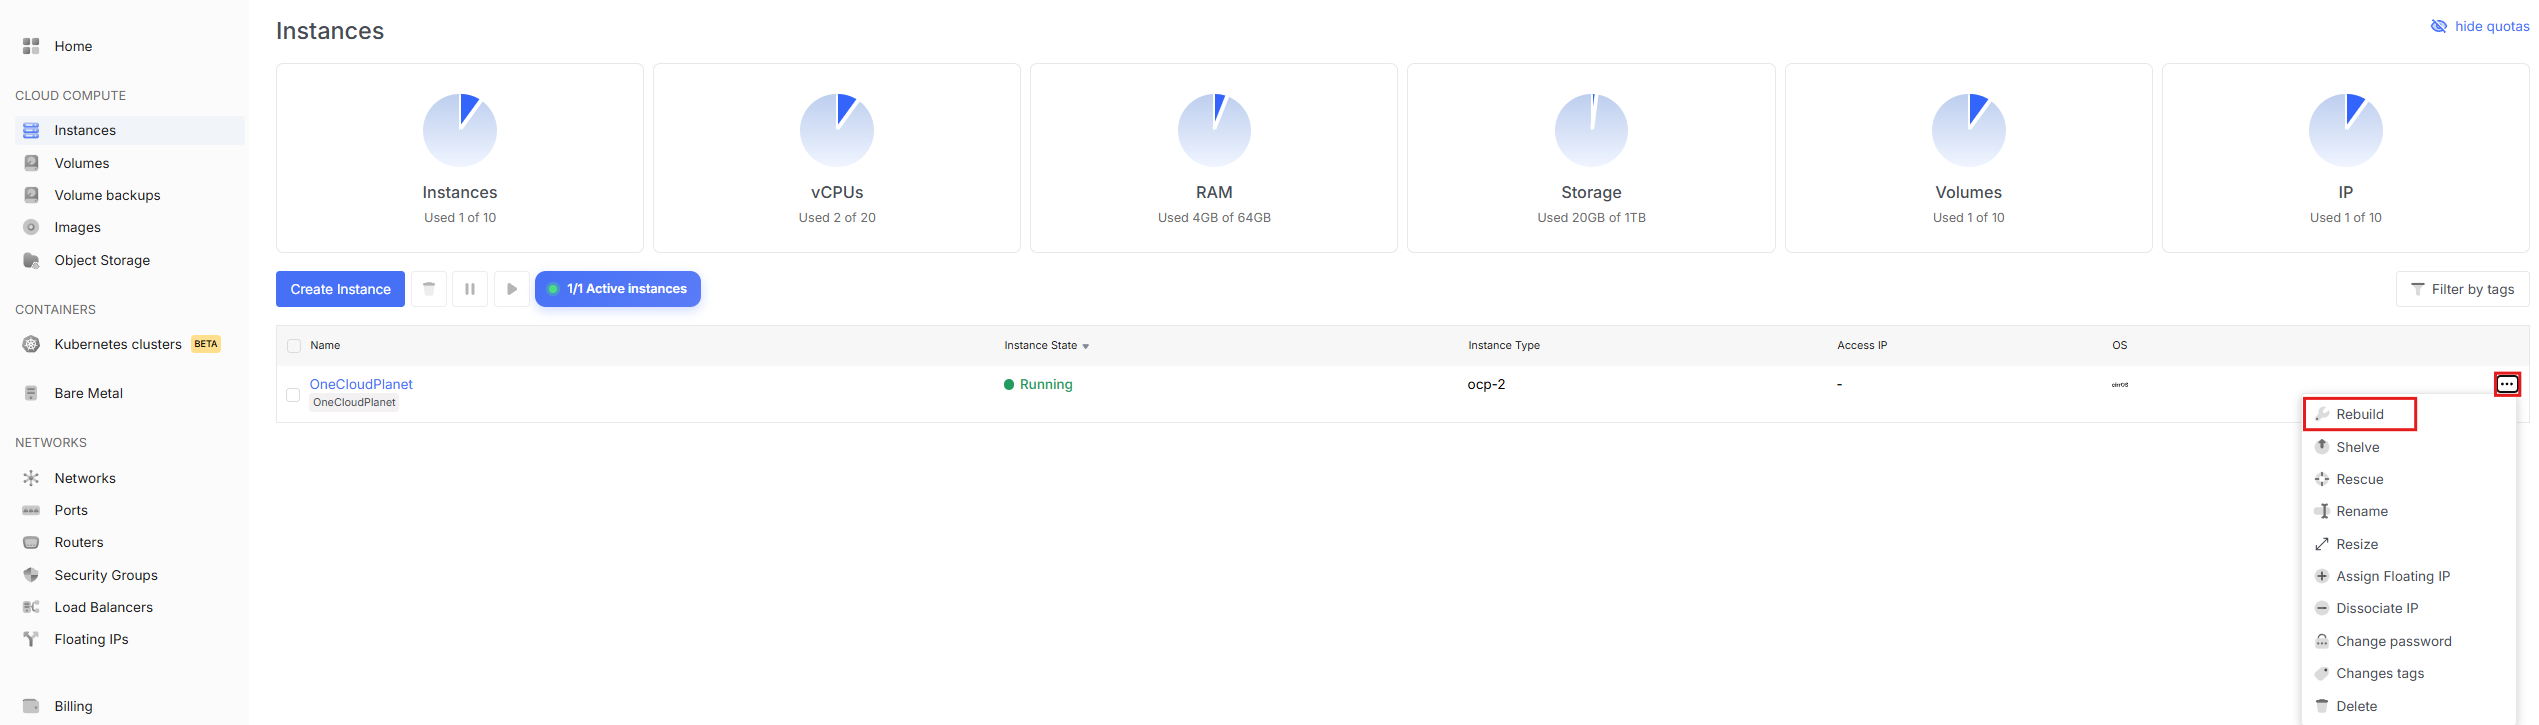
You can restore the initial state of an instance. The "Rebuild" function reinstalls the OS, preserving the IP address and instance ID.
Reinstalling the operating system will COMPLETELY DELETE ALL DATA on your virtual server (files, databases, settings, etc.) with no possibility of recovery. Before proceeding, make sure you have saved all important data in a safe place (created a backup).
To do this, select the option from the dropdown menu.
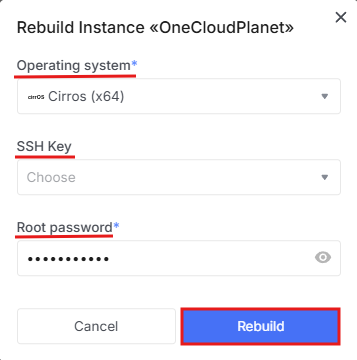
In the window that opens, the following functions will be available:
Select an OS from the dropdown list.
Select an SSH key (it must be added in advance, or leave the field empty and add your key later).
Set the password for root access.
Shelve Instance
If necessary, it is possible to Shelve instances:
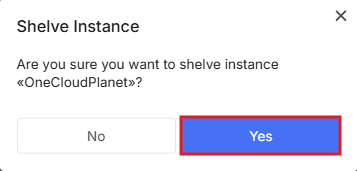
- In the dropdown menu, select the Shelve function
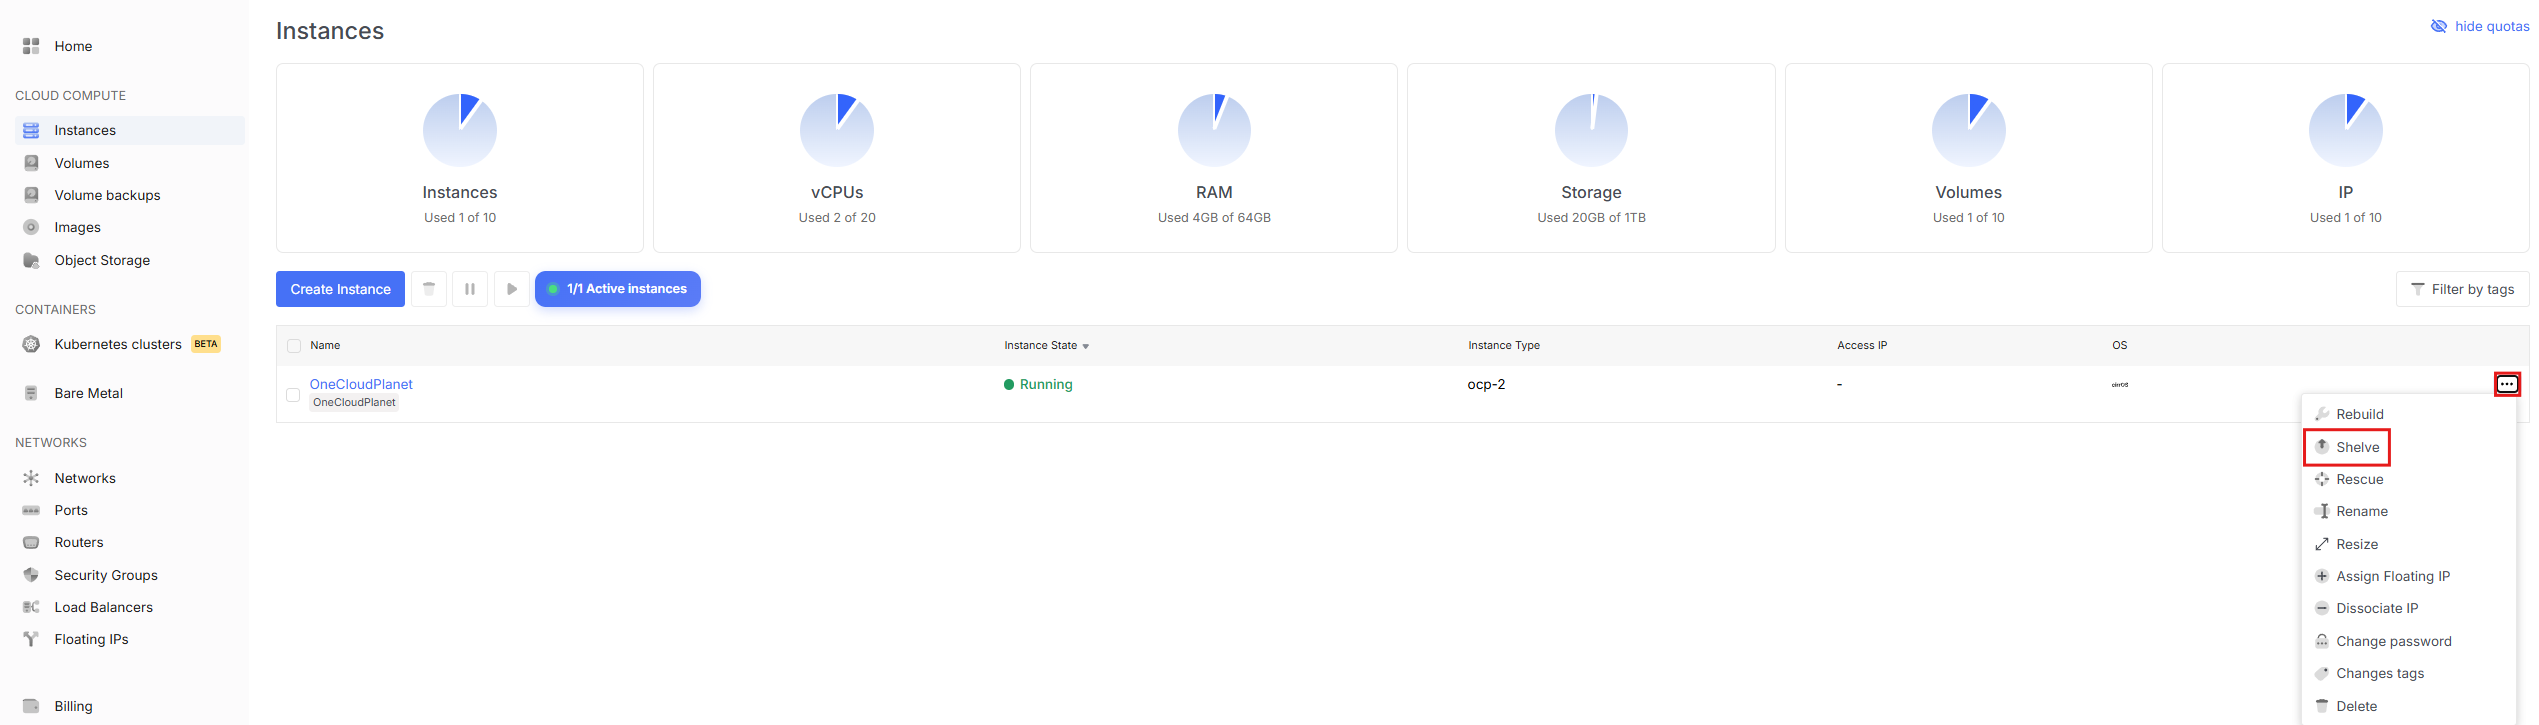
- Confirm the operation.
The operation performs the following functions:
"Freezes" the VM and releases resources.
Saves a disk snapshot.
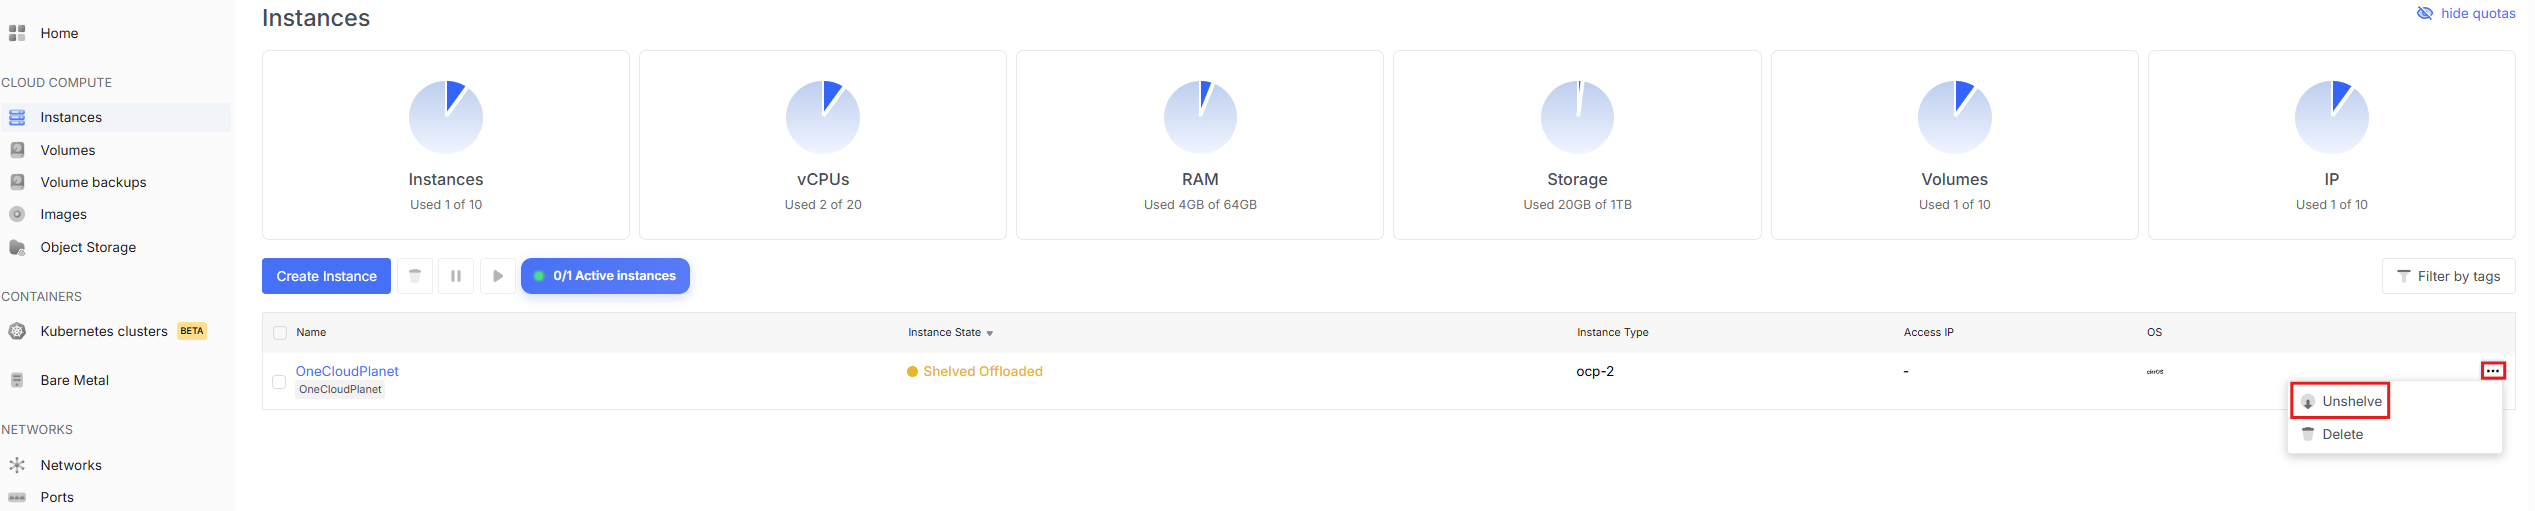
This is convenient for temporarily unused virtual machines, because no fee is charged for CPU/RAM (only for the disk). It can be restored at any time:
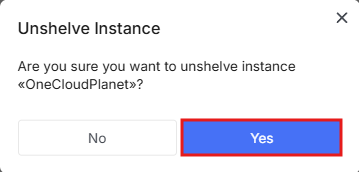
Then confirm the selection:
Rescue Function
A special boot mode for diagnosing and recovering an inaccessible or damaged VM.
The recovery function is not available for instances with the Volume Type storage type!!!
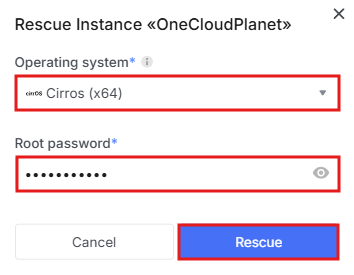
- To start recovering an instance - select the appropriate item in the dropdown menu:

- In the confirmation window, select the OS from which the recovery will be performed and set a temporary recovery password.
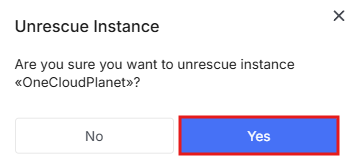
- After recovering the necessary data, select the Cancel Instance Recovery option

- And confirm the cancellation
Rename Instance
You can rename an instance.
Go to Instances.
Change the instance name in one of the following ways.
Via context menu:
In the list of instances, find the desired instance.
Expand the context menu of the instance.

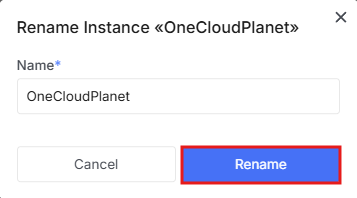
Select the Rename action.
Fill in the input field and click the Rename button.
Resize
Resizing an Instance will cause downtime. The instance will be shut down and the disk image will be copied to a new disk. This may take some time depending on the disk size.
- To change the instance configuration, select the appropriate item in the menu:

You must have sufficient quotas to increase the instance size
- In the window that opens, select the instance configuration type to change to:
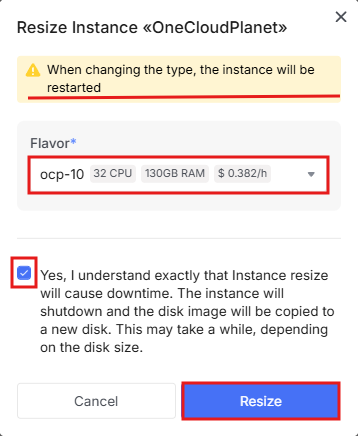
Confirm that you have read the warning about the instance restart.
Click Resize
Then wait for the instance status to change to Verify Resize.
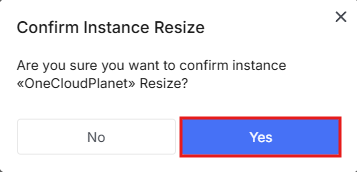
Then in the menu select the option to confirm or cancel the instance resize:

- In the new window, confirm the operation.
Assign Floating IP
- To assign a floating address, select the appropriate item in the menu.

- In the new window, select the option to create a new Floating IP (+ sign)
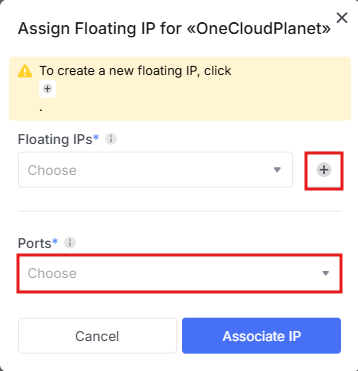
After creation, the address will appear in the corresponding field.
Select the port to bind the address to.
Click Associate IP.

- You can check the result on the instances list page.

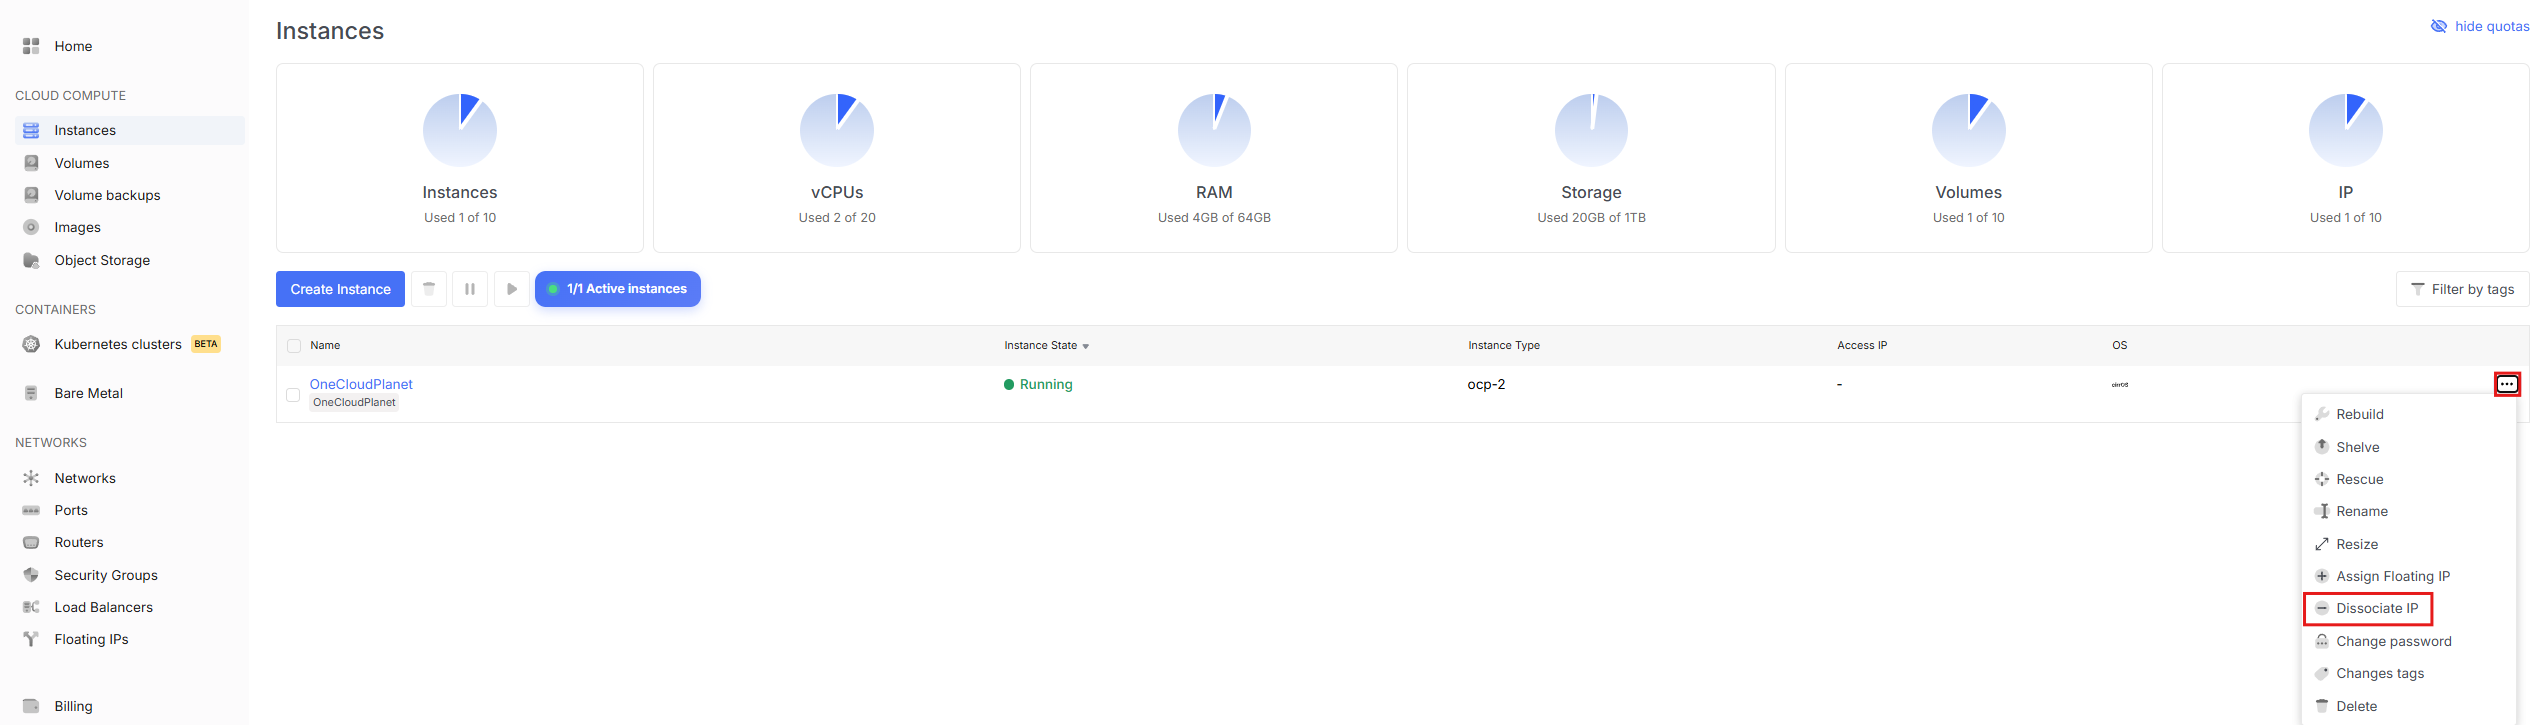
Disassociate IP
- To disassociate an IP, select the appropriate item in the menu.
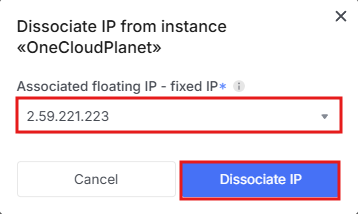
- In the new window, select which IP you want to disassociate and confirm the selection.
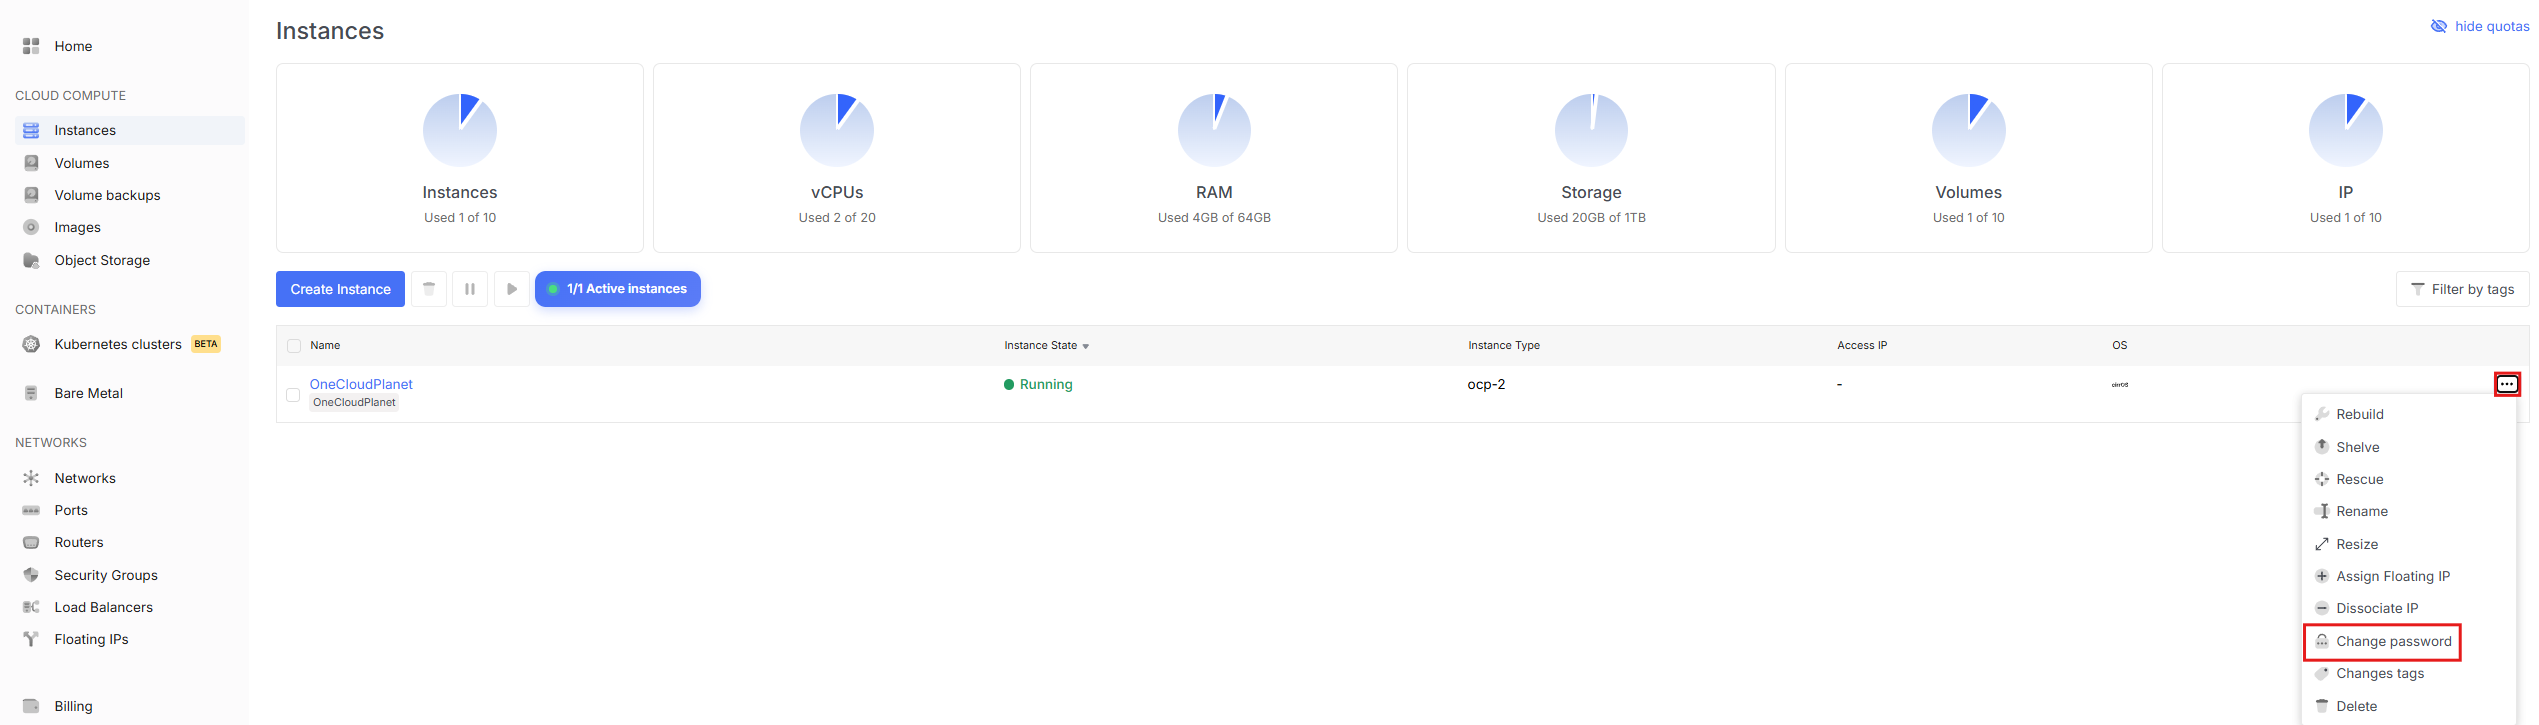
Change Password
- To change the password, select the appropriate item in the menu.
- In the new window, enter the new password.
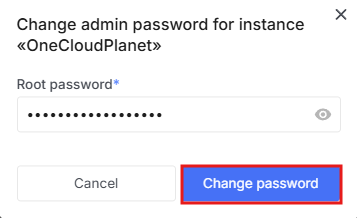
- Confirm the change.
Edit Tags
- To add tags to your instances, select the appropriate item in the menu.
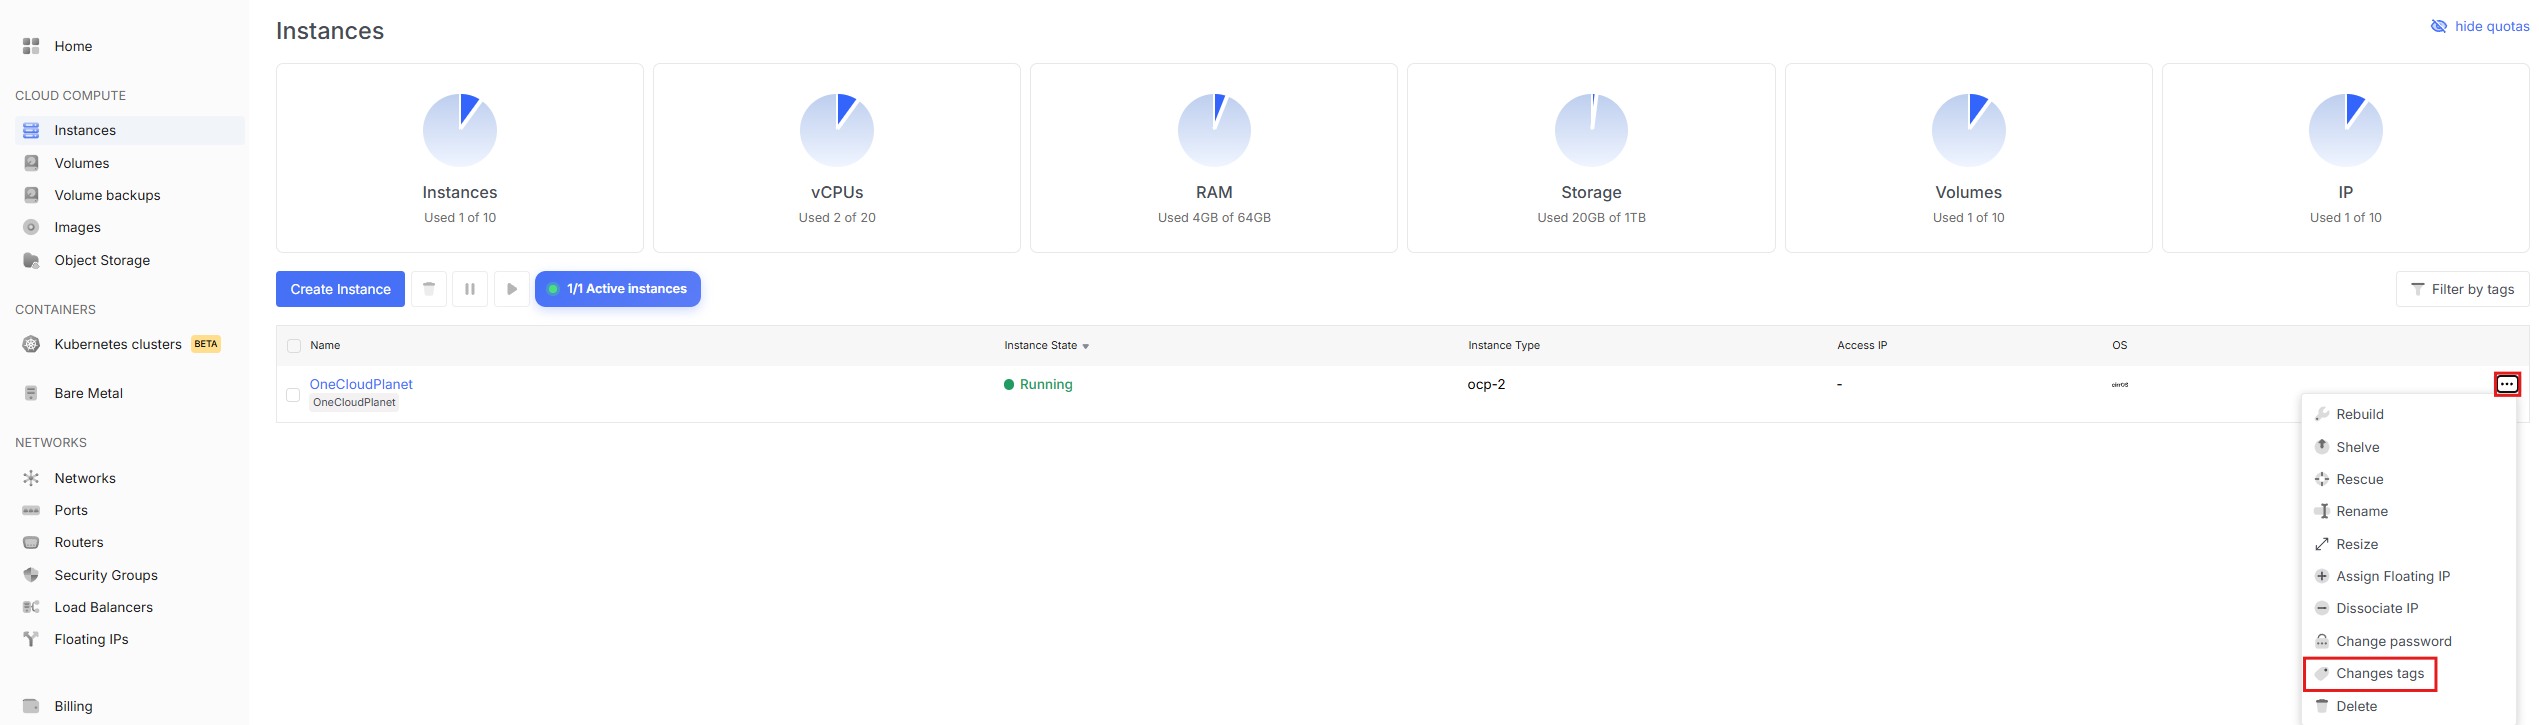
- In the new window, enter the desired tag and NOTE press space or comma to apply the tag. Then click save.

- Now you can filter your instances by tags.

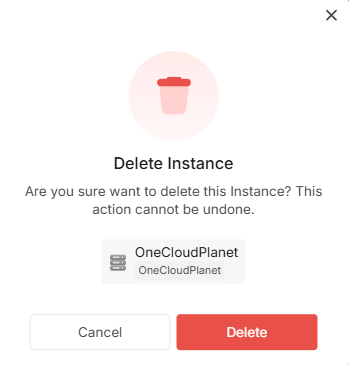
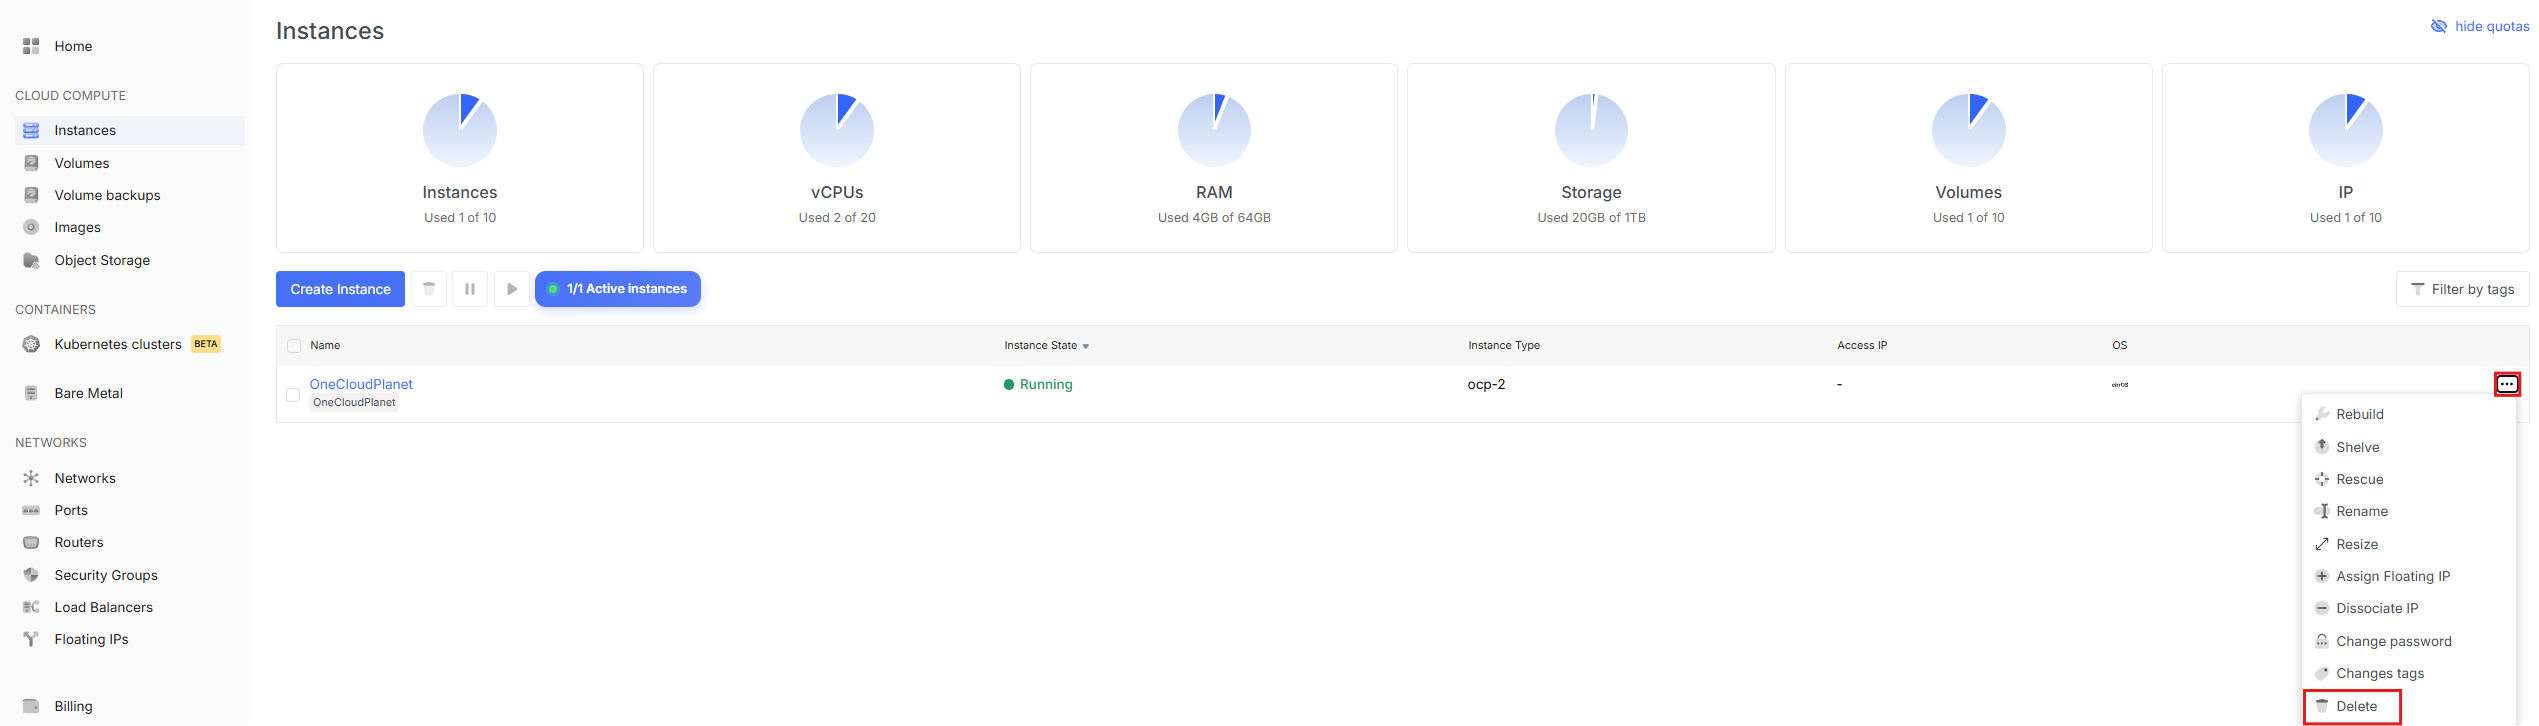
Delete Instance
Deleting an instance will COMPLETELY DELETE ALL DATA along with your virtual server (files, databases, settings, etc.) with no possibility of recovery. Before proceeding, make sure you have saved all important data in a safe place (created a backup).
- There are several ways to delete instances:
Deletion via the quick action panel: select the instance (checkbox next to the instance) and click the trash icon in the panel. Then confirm the deletion.
Via the dropdown menu: open the dropdown menu next to the desired instance and select Delete. Then confirm the deletion.