Create image
- Personal Area
- Openstack CLI
- Go to the Images section.
- Click on Create Image.
- Enter the name of the future image in the field labeled Name Image.
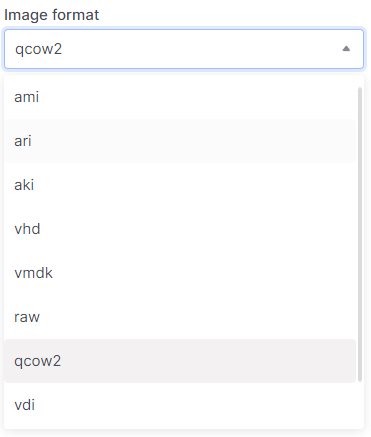
- Choose the image format for the future image from the format field.
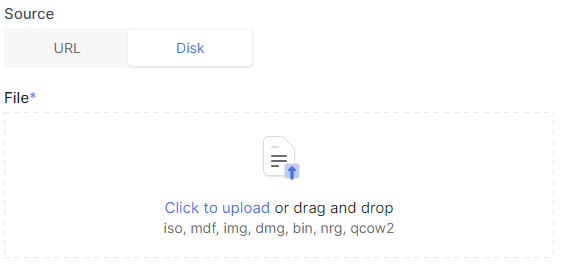
Choose the source type for image creation.
5.1. Create an image by specifying a source URL.
5.2. Create an image by uploading a disk file.
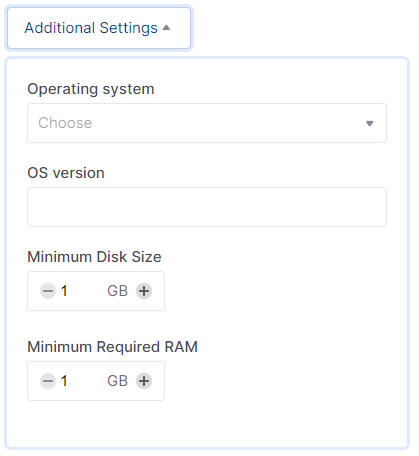
(Optional) You can further customize the image. Click on Additional Settings.
- Choose the operating system that will be associated with the image in the Operating system field.
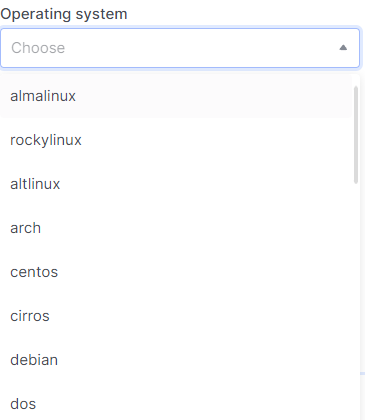
- You can also enter the version that will be associated with the image in the OS version field.
- Specify the minimum disk size.
- Specify the minimum RAM size.
Make sure that the OpenStack client is installed and you are able to authenticate to use it. Execute the necessary commands.
openstack image create
--disk-format <disk-format> /
--min-disk <disk-gb> /
--min-ram <ram-mb> /
--file <file> | --volume <volume>
<image-name>
--disk-format <disk-format> - Image disk format. The supported options are: ami, ari, aki, vhd, vmdk, raw, qcow2, vdi, iso. The default format is: raw.
--min-disk <disk-gb> - Minimum disk size needed to boot image, in gigabytes.
--min-ram <ram-mb> - Minimum RAM size needed to boot image, in megabytes.
--file <file> - Upload image from local file.
Creating an Image from a Volume
- Personal Area
- Openstack CLI
- Go to the Volumes section.
- Select the required disk, click on the ellipsis in the disk field, and choose Upload to image from the context menu.
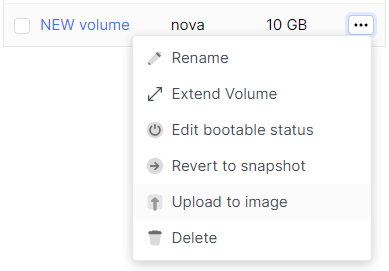
- Enter the image name in the Name field.
- Choose the image format in the Image format field.
- After filling in the details, click Create.
Make sure that the OpenStack client is installed and you are able to authenticate to use it. Execute the necessary commands.
openstack image create --disk-format <disk-format> --volume <volume> <image-name>
--disk-format <disk-format> - Image disk format. The supported options are: ami, ari, aki, vhd, vmdk, raw, qcow2, vdi, iso. The default format is: raw.
--volume <volume> - Create image from a volume.
Create image by duplicate an exist one image
- Select the desired image, click on the ellipsis in the image field, and choose Duplicate from the context menu.
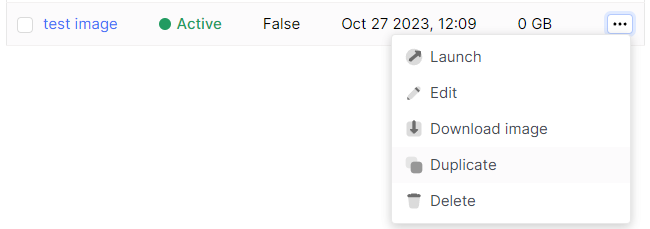
- Enter the name of the future image in the Name field.
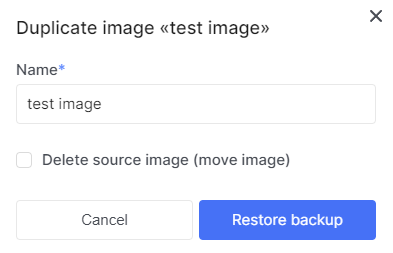
- (Optional) Check the box with the description: Delete the source image(move image) to implement moving the image.
- Click on Restore image