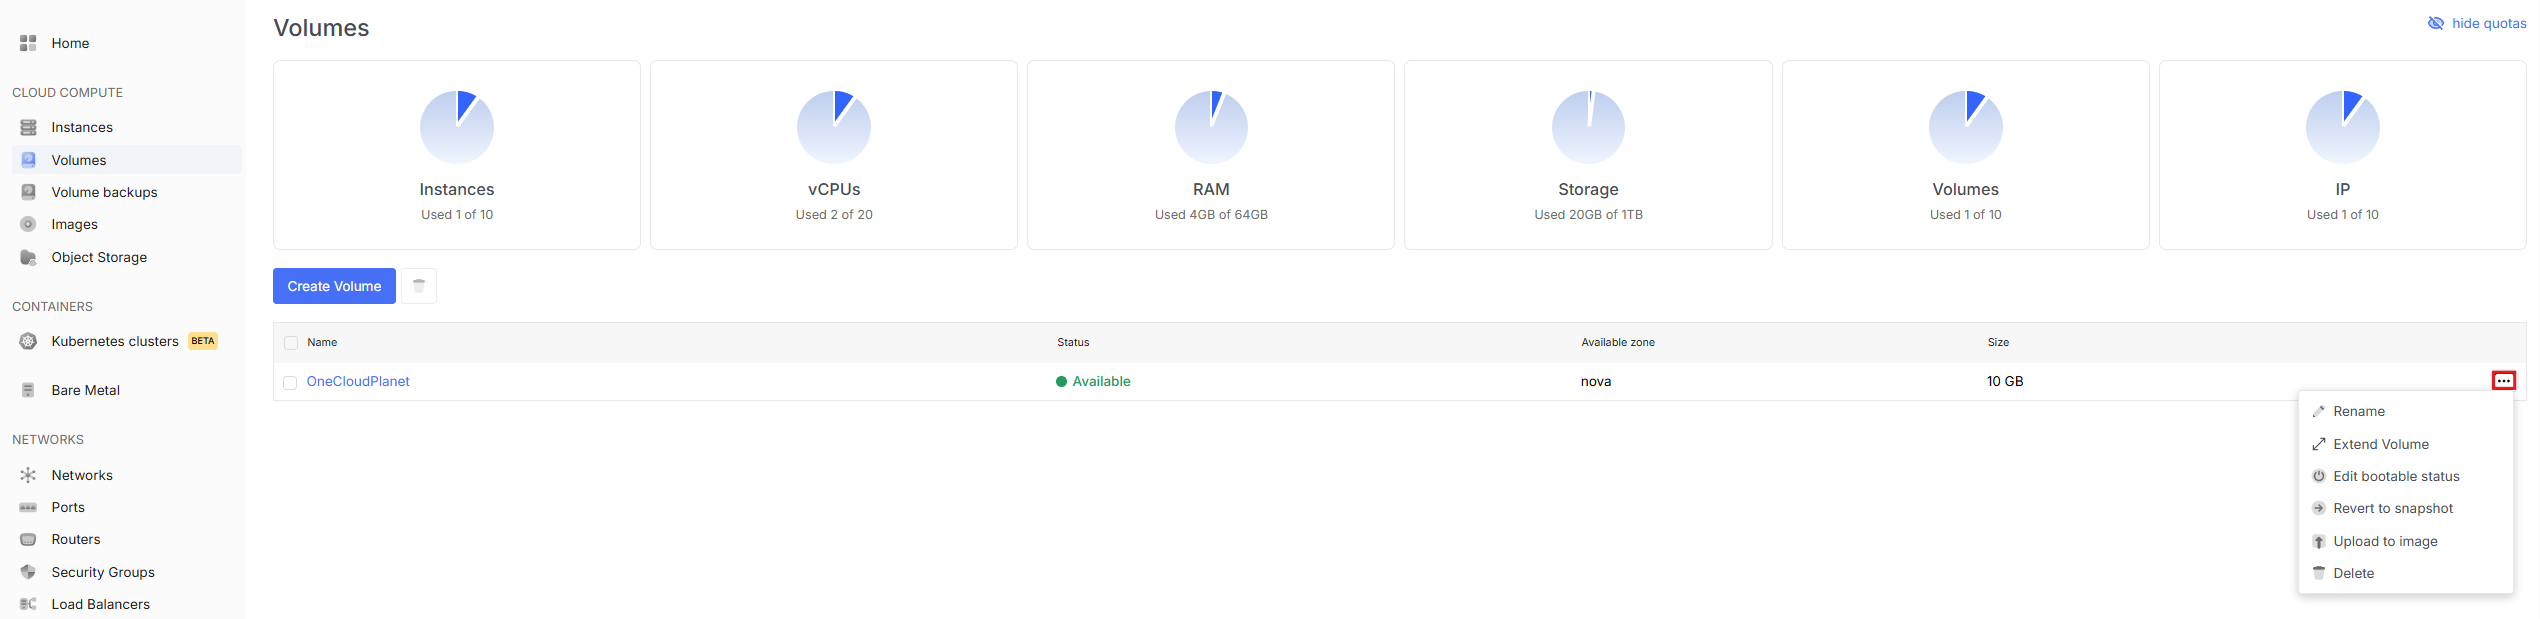
Volume Management
Volume Actions
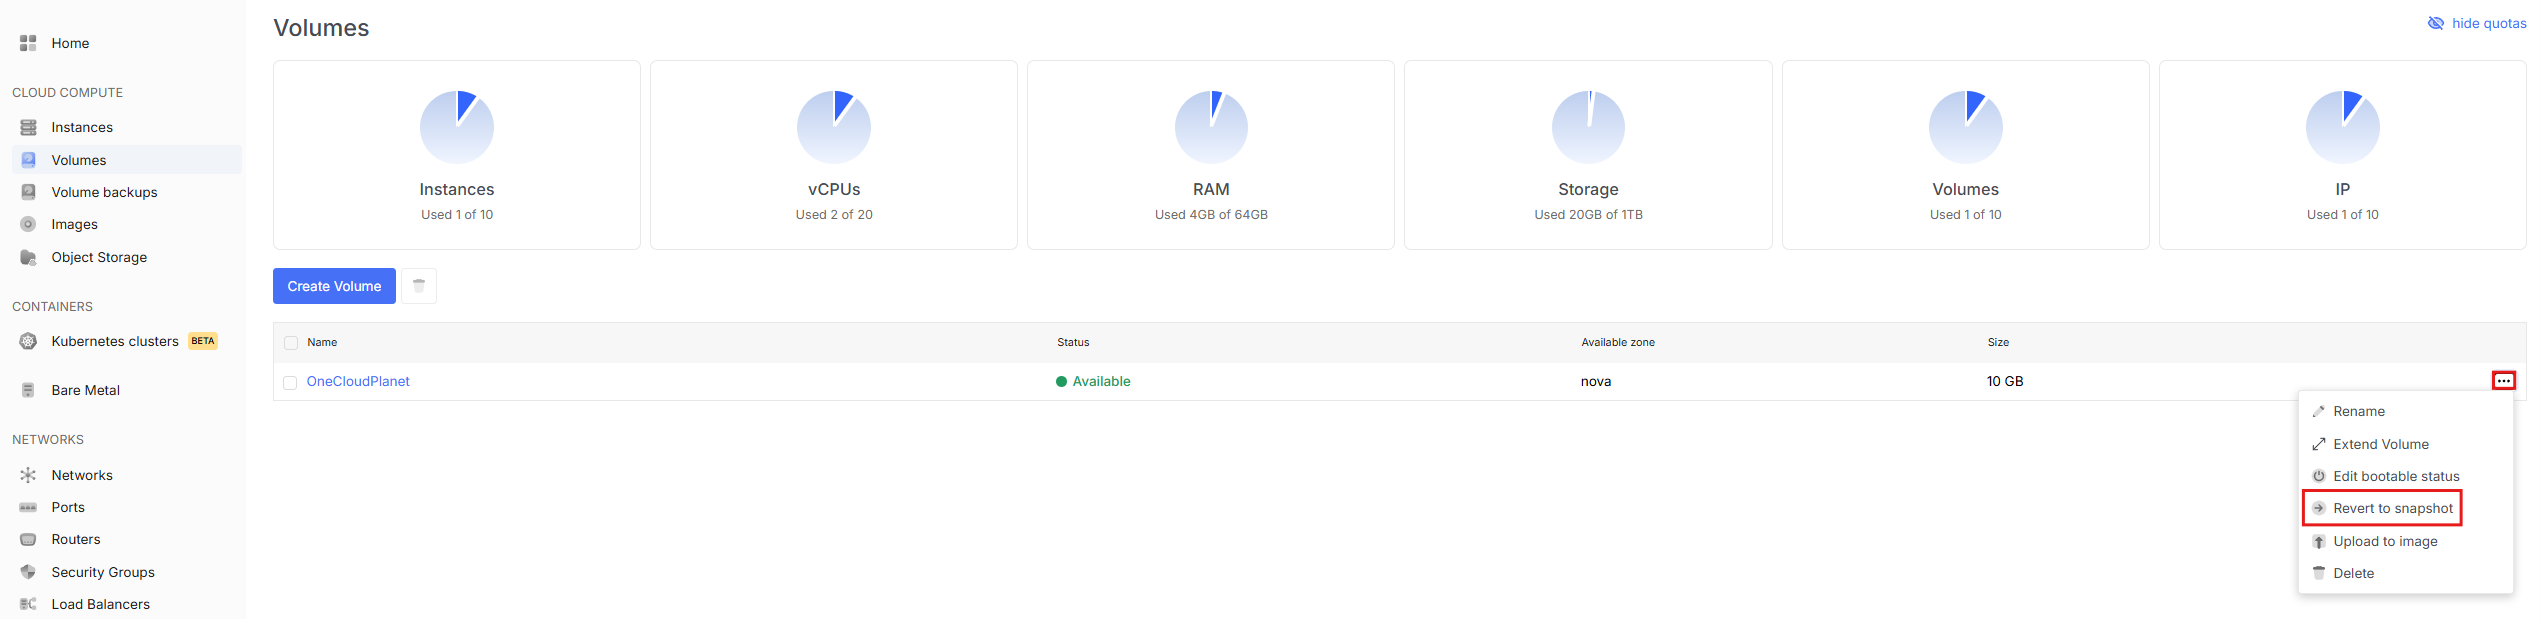
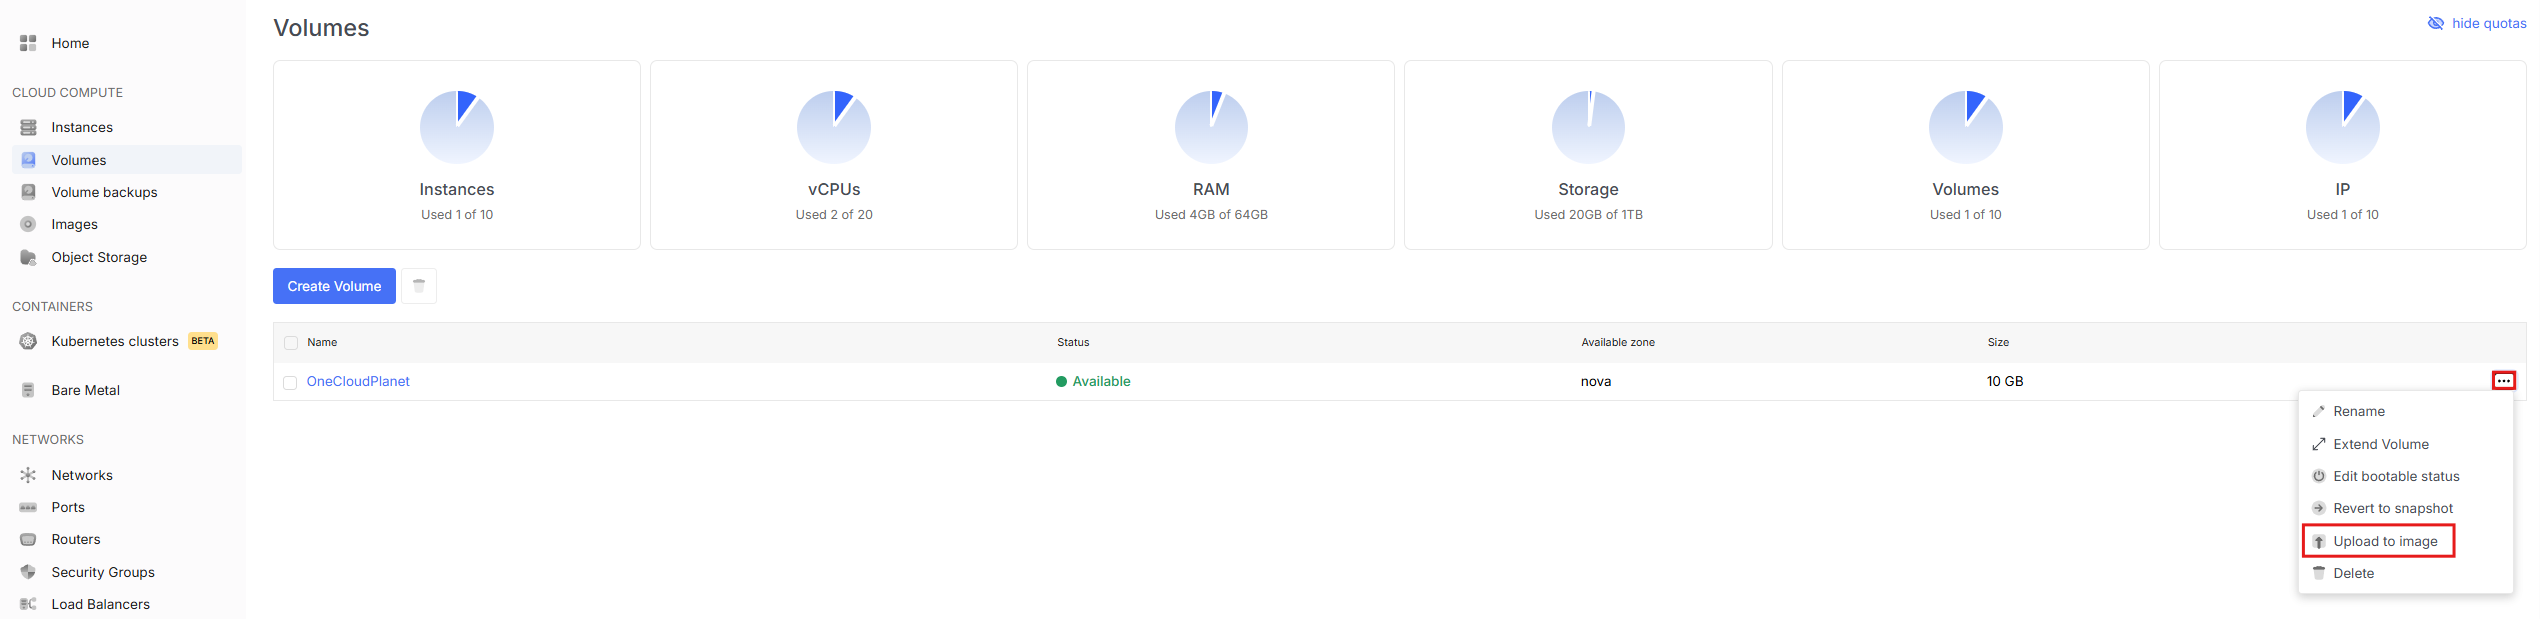
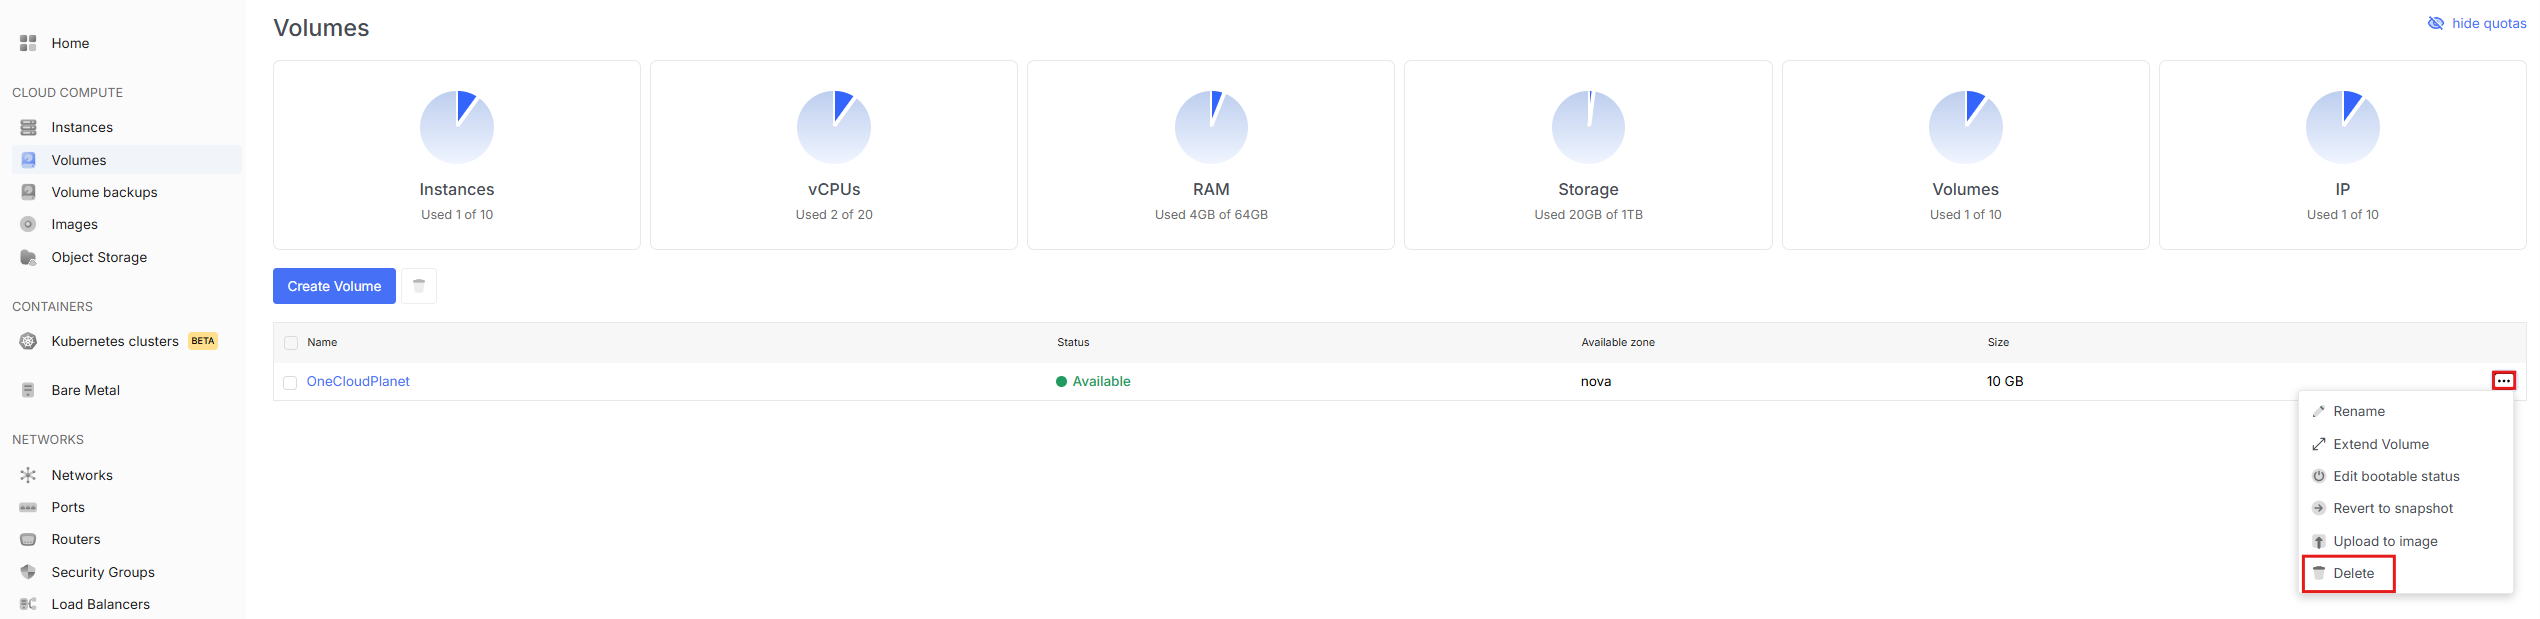
- To view available volume actions, go to the Volumes tab and open the dropdown menu by clicking the three dots next to the desired volume.
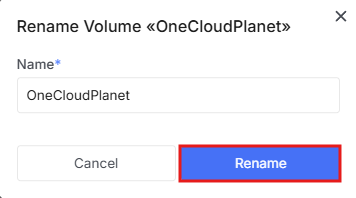
Rename Volume
- To rename a volume, select the appropriate item in the menu.

- In the window, enter the new name and click Rename.
Extend Volume
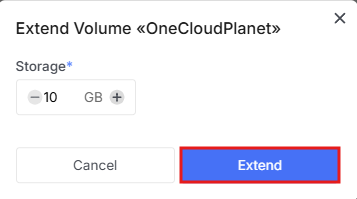
- In the menu, select Extend Volume
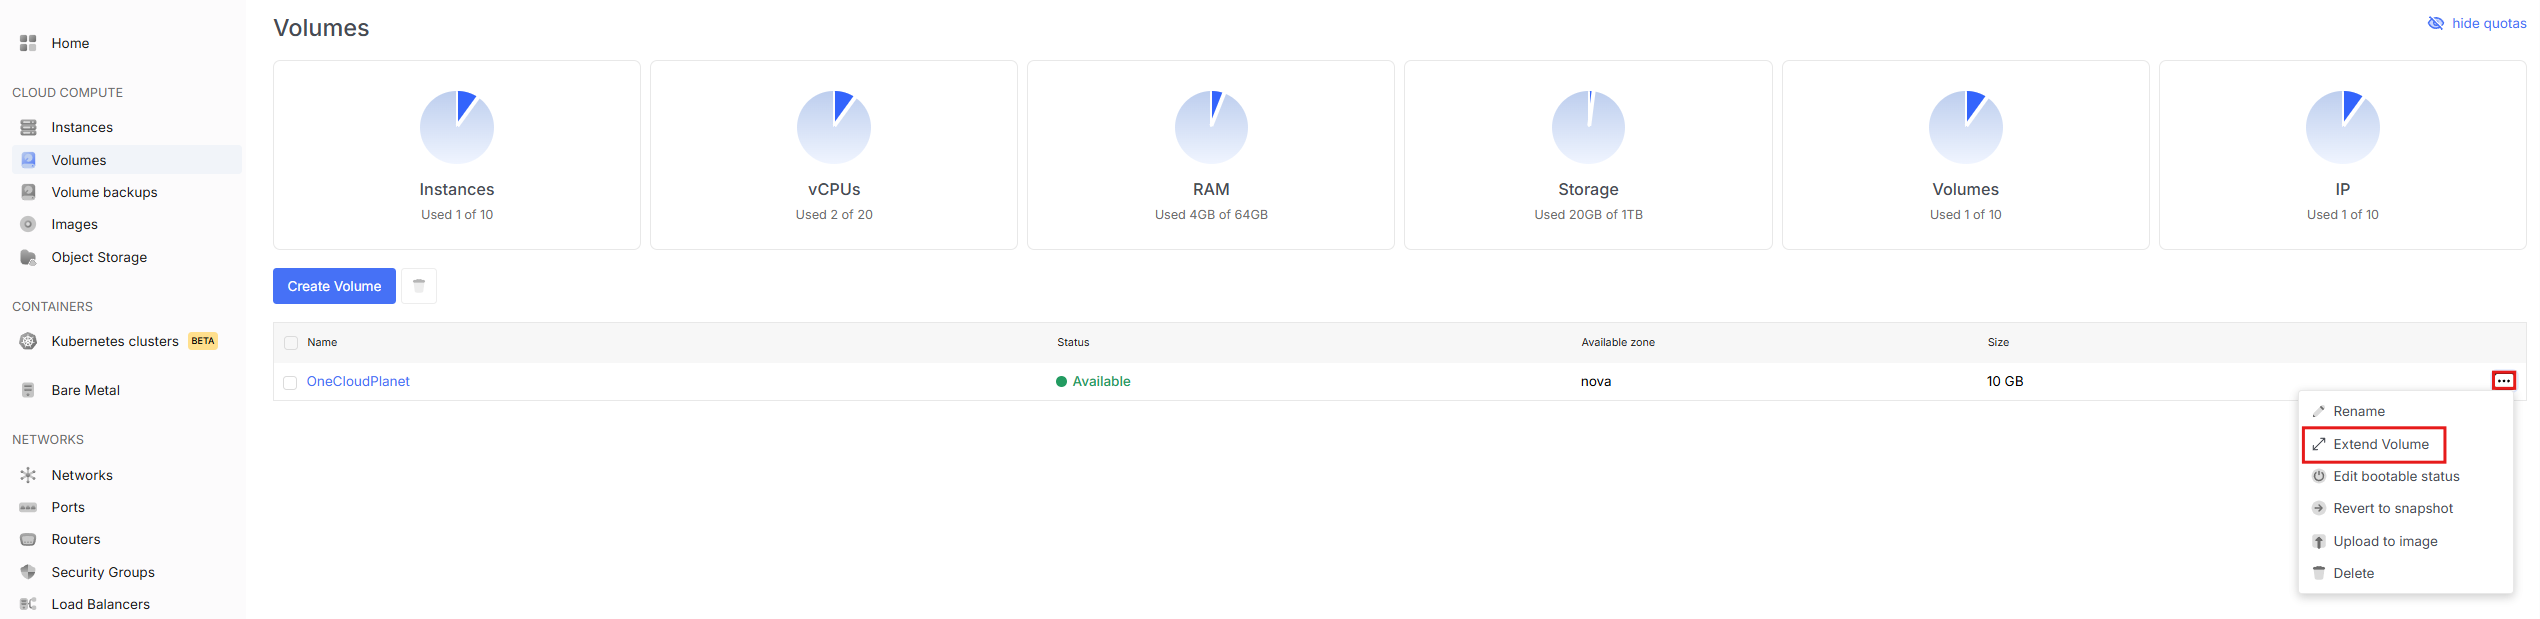
- In the new window, set the required volume size and click Extend
Change Boot Status
You can change the boot status of a volume if the metadata was set incorrectly or if the volume with an operating system needs to be marked as a system volume for later use when creating a VM.
- To do this, select the appropriate item in the menu.
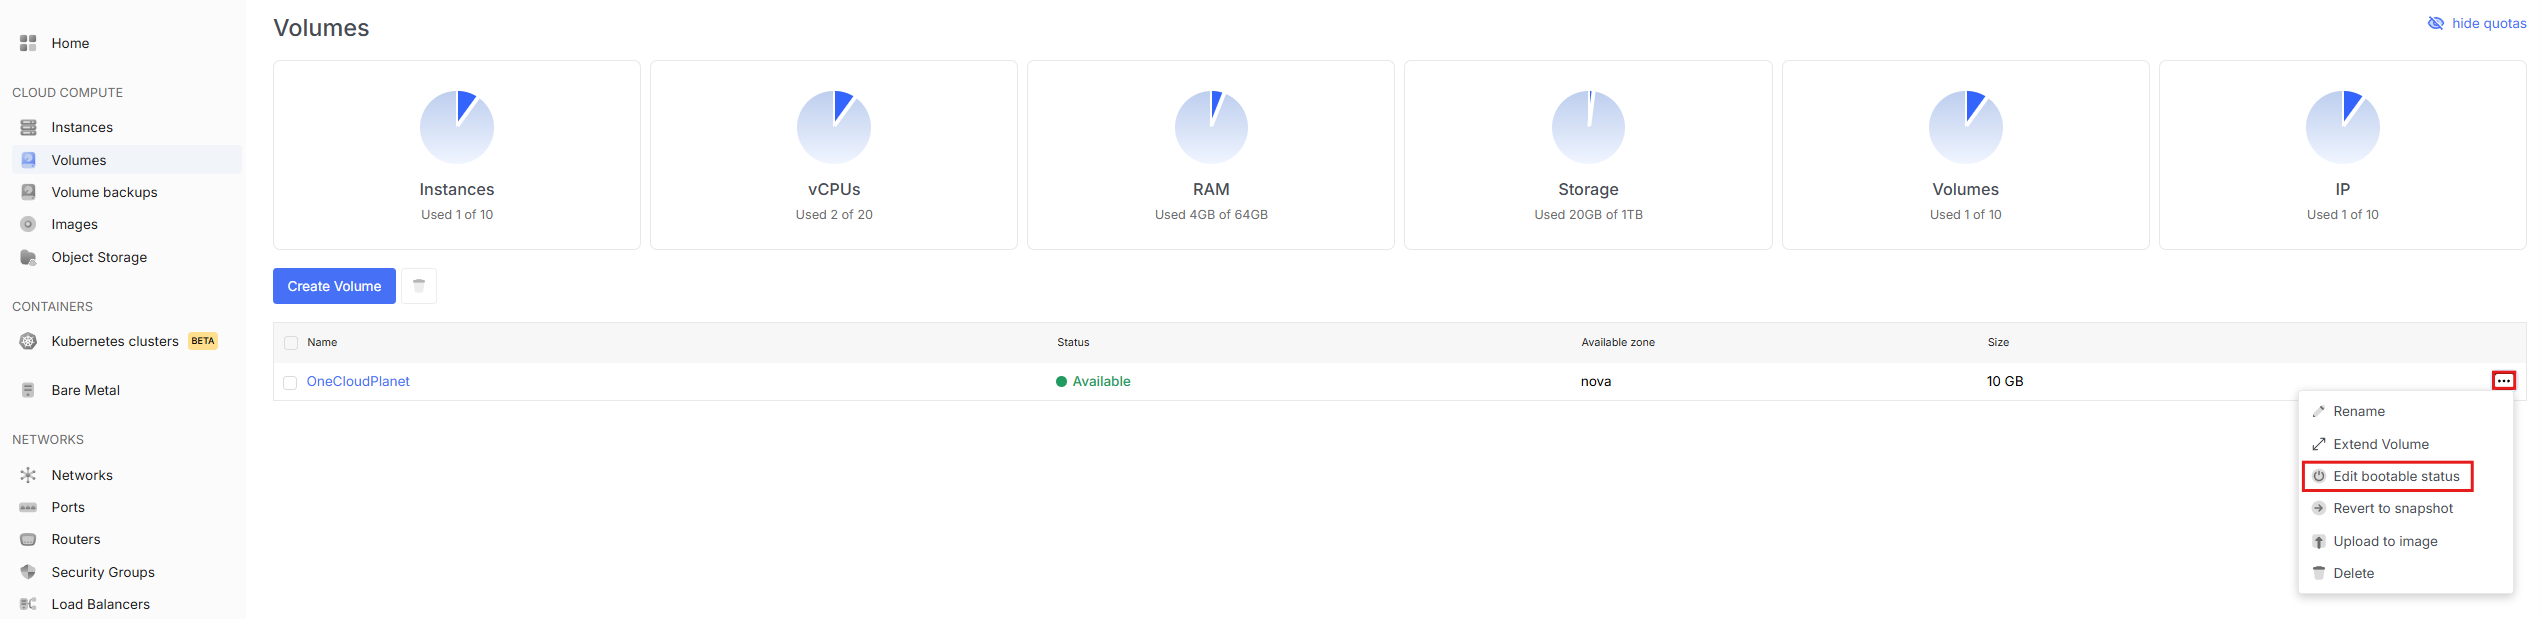
- In the new window, check the Boot Status checkbox and click change status.

Revert from Snapshot
Note!
Before reverting a volume from a snapshot, you need to create a snapshot first.
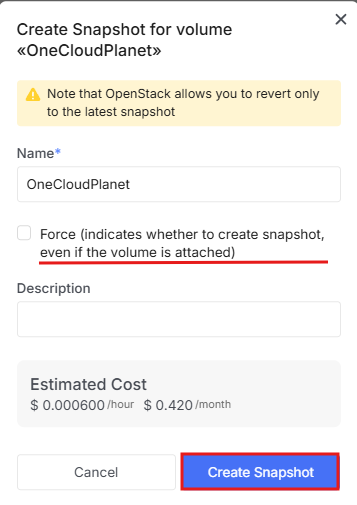
- To create a snapshot, go to the volumes tab, click on the volume itself, select the Snapshot tab at the top and click Create Snapshot.

- In the window, enter a name, check the checkbox if needed and click Create Snapshot.
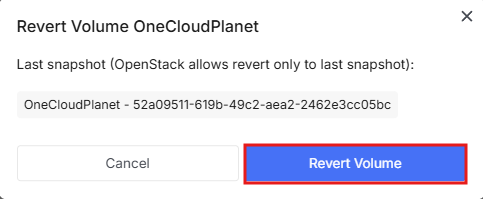
- If you already have a ready snapshot, select Revert from Snapshot in the menu.
- The next window will show the last snapshot taken, click Revert Volume.
Upload to Image
- To upload the volume to an image, select the appropriate item in the menu.
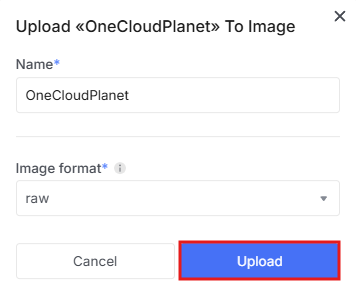
- In the next window, enter the image name and select the format to save the image in.
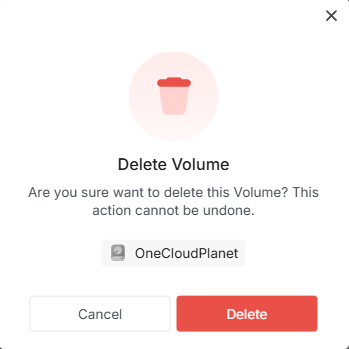
Delete Volume
- In the menu, select the delete option.
- In the next window, confirm the deletion.