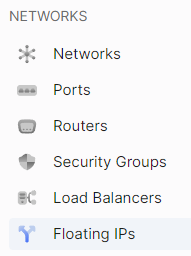
Using the sidebar, navigate to the Floating IPs section.
You will see a list of existing floating IPs.
Assigning a Floating IP Address Without Prior Creation.
Using the sidebar, navigate to the Instances section.
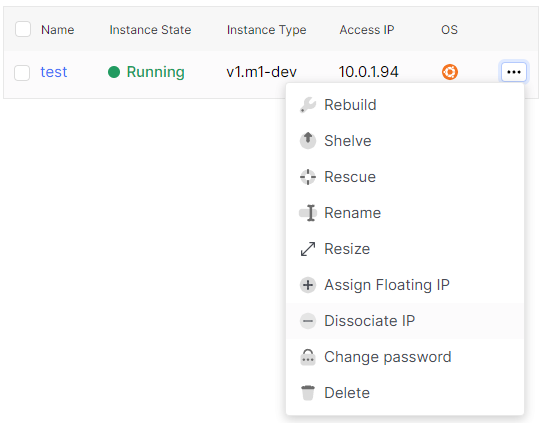
Use the ellipsis (...) in the instance field to expand the context menu for interacting with the instance.
In the context menu, select the Associate floating IP address section.
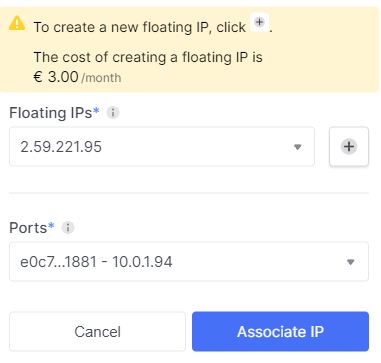
Click the + symbol next to the dropdown menu under "Floating IPs" to create a new floating IP address.
Wait for a notification indicating the successful creation of the floating IP address.
In the first dropdown list, under the title Floating IPs, select the required floating IP address.
In the second dropdown list, under the title Ports, choose the necessary available port.
Press the Associate IP button.
Assign the floating IP address from the previous creation.
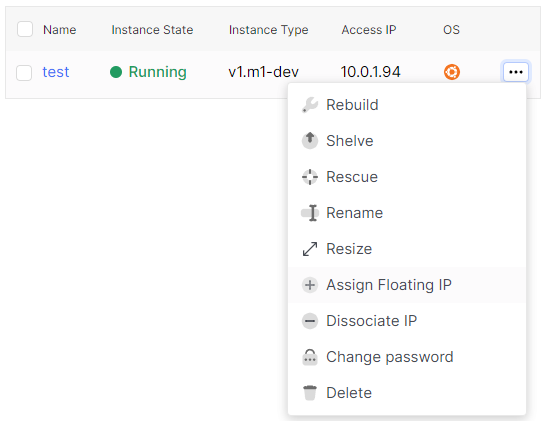
Using the sidebar, navigate to the Instances section.
Use the ellipsis (...) in the instance field to expand the context menu for interacting with the instance. In the context menu, select the Assign floating IP address section.
Using the sidebar, navigate to the Instances section.
Use the ellipsis (...) in the instance field to expand the context menu for interacting with the instance. In the context menu, select the detach floating IP address section.