Create a Router
- Personal Area
- Openstack CLI
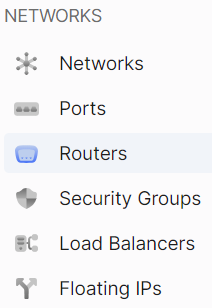
- Go to the Routers section.

- Click on Create Router.
- Enter the name of the future router in the Name Router field.
- Allow or deny the router's access to the internet using the Internet Access switch. It is enabled by default.
- Choose a subnet from the existing ones, or leave the field empty to create a router without interfaces. You can add interfaces at any time.

- Select the router's state as "enabled" or "disabled." It is set to "enabled" by default.
- Click Create.
Make sure the OpenStack client is installed and you can authenticate to use it. Execute the necessary commands.
openstack router create --enable | --disable / <name>
--enable - Enable the router (default).
--disable - Disable the router.